
This page is a compilation of existing and new tips, techniques, and suggestions for playing Sunrise Village.
- The Rifts
- Resource Management – Energy, Gems, Crops, and Animal Products
- General Tips, incl. The Boat, Decorations, and Dynamite
- Exploration Areas
The Rifts
The Rifts give players access to more resources needed for Team Competitions, or to complete Village buildings, special events, or quests. It is not mandatory and does not help or hinder the main game quest. A “Rifts Season” lasts just 7 days, then everything is reset.
Note: you CAN beat the Rifts without spending any real money or using accumulated diamonds to purchase energy, but it takes patience, planning, and focus to do so.
- You must be level 13 or higher to access the Rifts’ island and the Gate.
Rifts before Level 13
Rifts after Level 13 obtained - Rifts use a special “gold” energy that is completely separate from the normal blue energy. Gold energy only comes from: a) your initial exploring characters (see paragraph # 5 below), b) flasks of gold energy found in the Rift, c) buying them with diamonds, or d) standard regeneration over time. There are no fountains, quests, gifts from ads, or anything else in the regular game or Village (so far) that will give or gift additional gold energy. Leftover gold energy will carry over to the next Rift during a “season.”
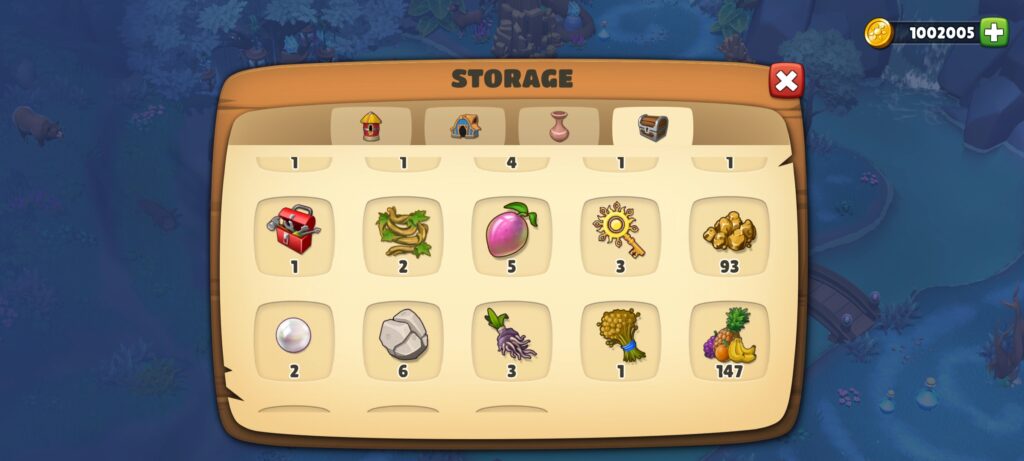
- To activate the Rifts’ Gate you will need to tap/click on the WishWell (to the left of the Gate), and trade resources and/or products for an Orb (examples: 4 cans and 7600 coins, or 8 glue, 4 sweaters and 4850 coins). You can get and stack Orbs if you have the resources on hand (recommended, since it will cut down on losing playing time rushing around later getting some resources that may have been used up in the previous Rifts or other quests/events).

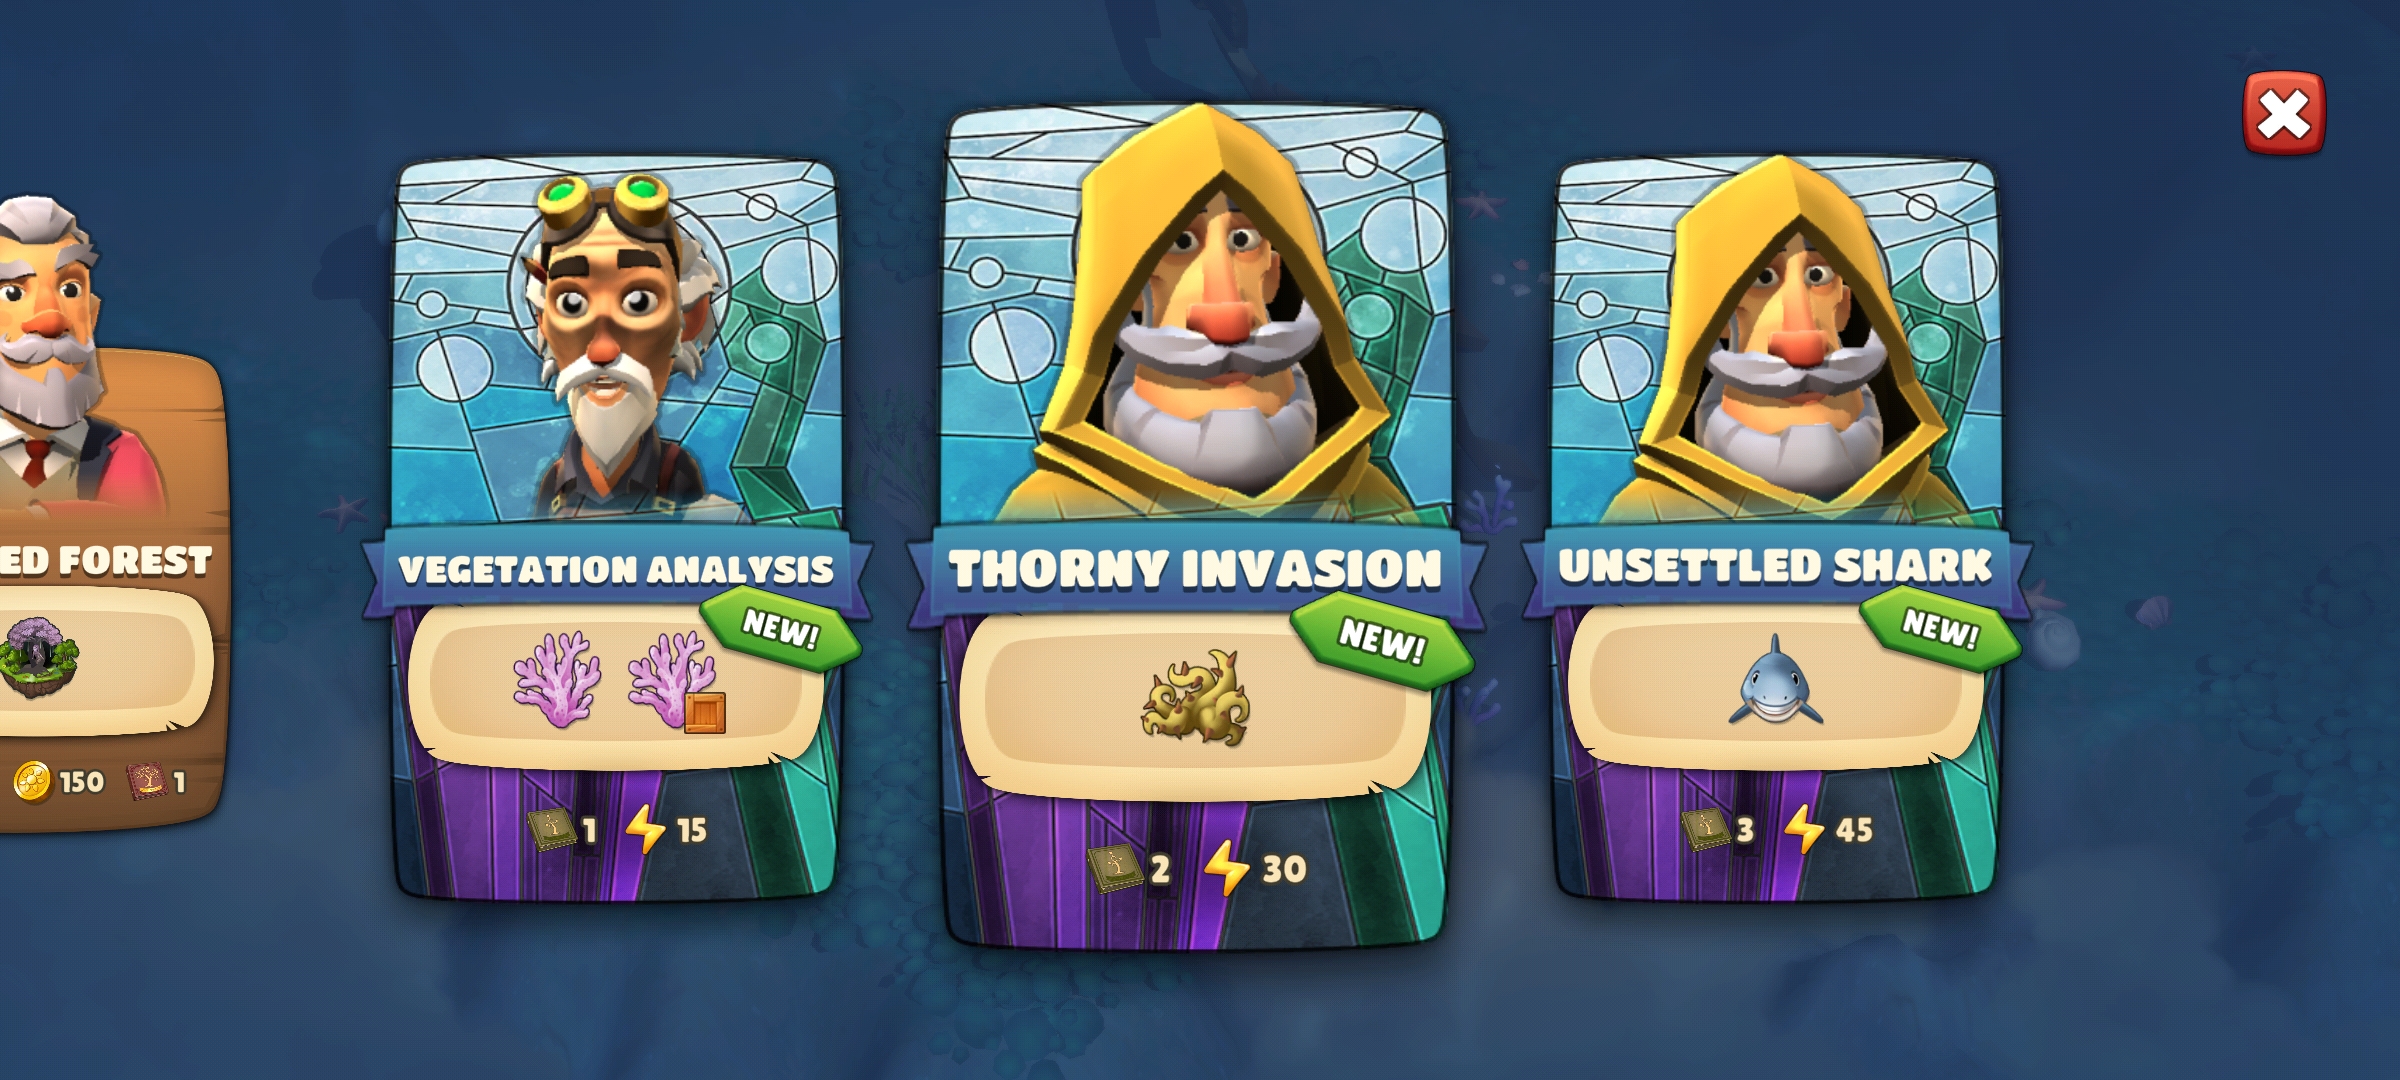
- Once you have an orb tap/click on the gate and it will bring up the Rifts Selection Screen where you choose a Rift. Each one is a moderate-sized area with vegetation and resources similar to ones already seen in the game. Shown below each Rift’s picture is an icon that depicts a preponderance of one resource such as stones, clay, iron ore, etc. in that Rift. And each Rift is also associated with an element – wood, fire, water, earth, metal, and air, and this is reflected in your best choices for characters (see #5 below).

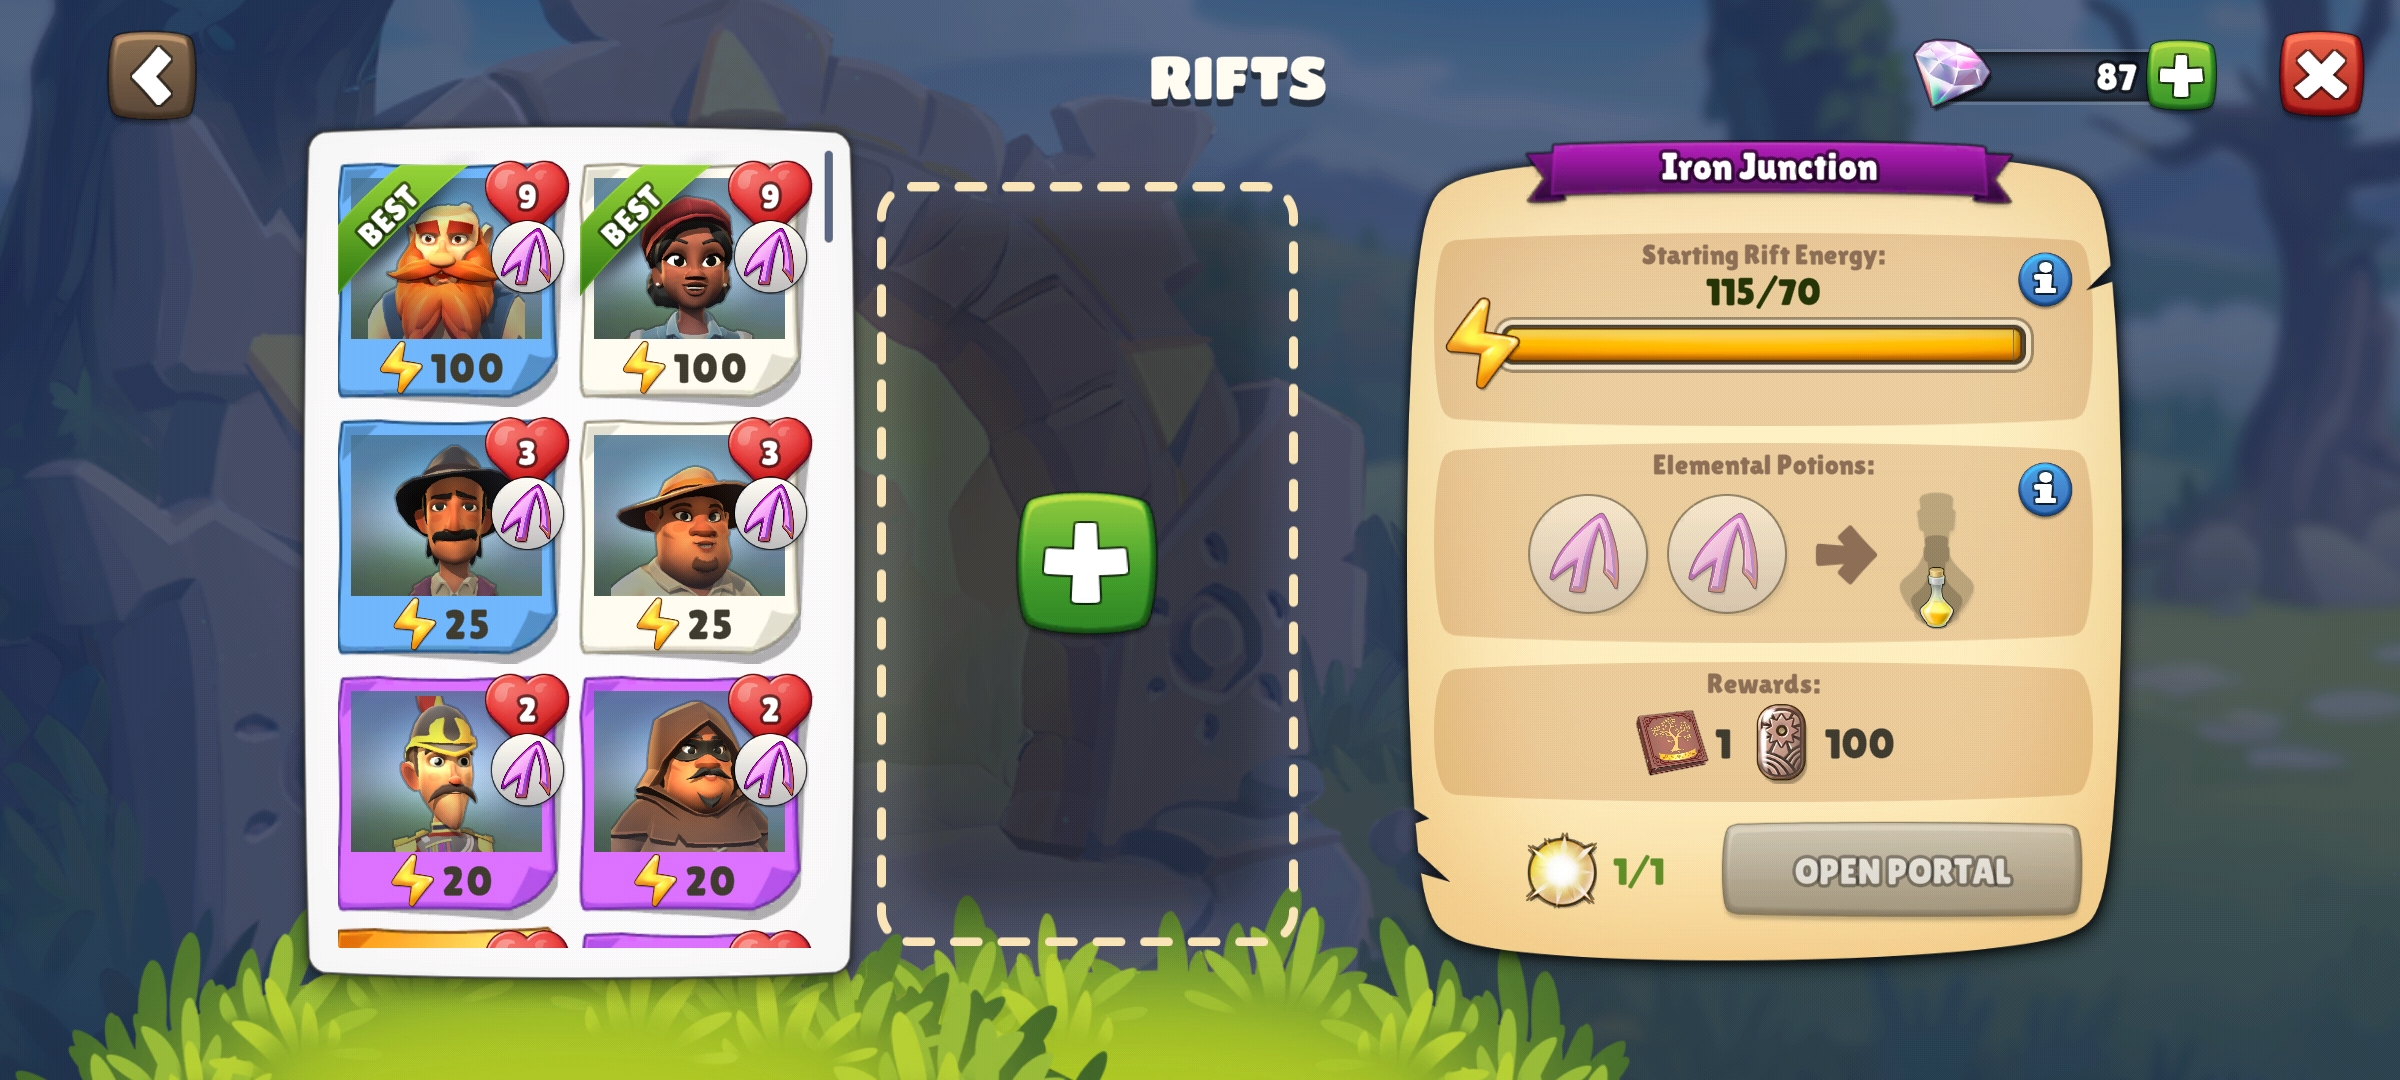
- Once you’re selected a Rift it will show the Character Selection screen. Choose two of your Village’s members to go on the expedition. Each has an affinity for an element such as fire or earth that will best match up with that specific type of Rift, and which brings extra gold energy with them to use in that Rift. Choose a character wisely – the more gold energy you start with the faster you can complete the Rift and get to the rewards at the end. If you have recently used one of the characters in an earlier Rift then it may cost diamonds to use them again, so go through the Rifts choices until you find the Rift with characters with the greatest energy and no diamond cost and choose it and them.
- Each Rift map is “randomly” generated and has three major missions scattered around in it, such as: a collection quest (find 2-4 scattered items), a restore something quest (requires energy), a spinner that uses products (such as flour, water, or milk – but NOT energy), and a structure to be re-built. Note: structures require lots of basic materials (bricks, boards, etc.), and, sometimes, special construction materials, so be sure to create/stock up on them before entering a new Rift. The graphic below shows a collection quest, a destruction/collection quest, and a spinner quest, with the rewards shown at the bottom of each graphic.
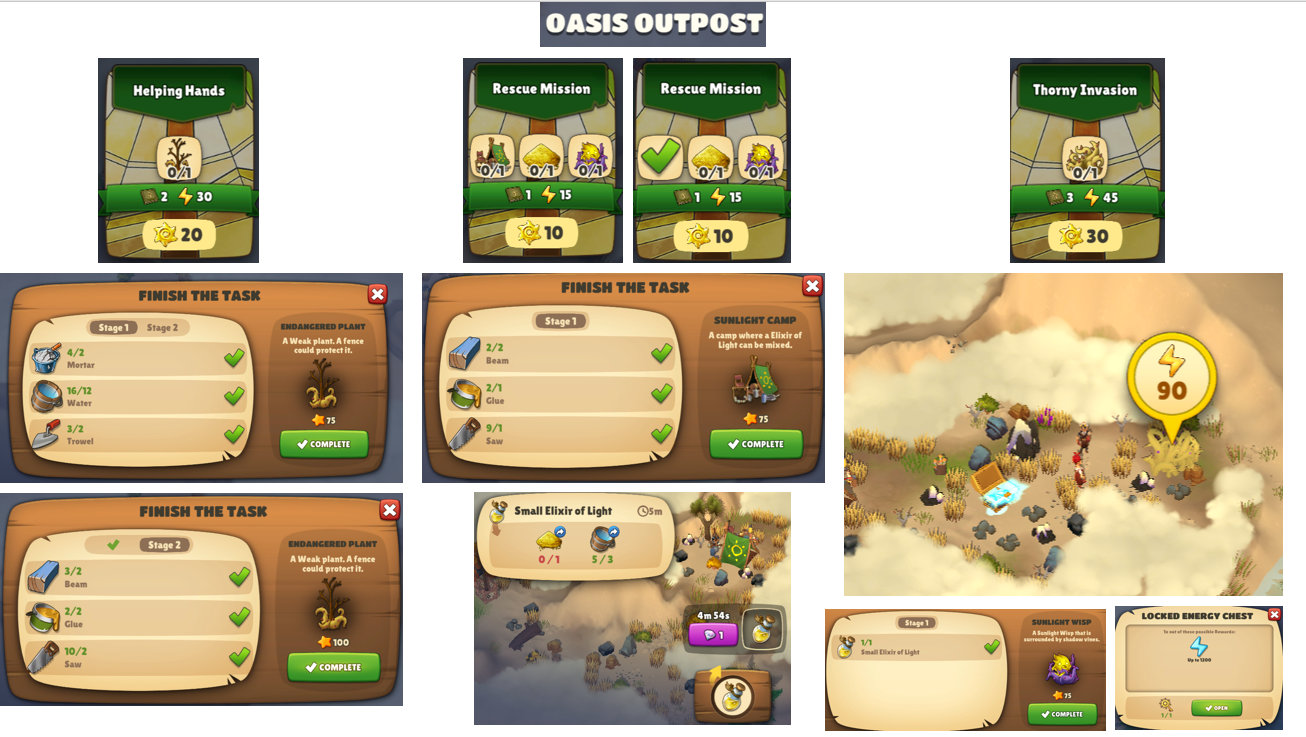
- Here is an example of the missions and rewards for a “random” version of the Oasis Outpost Rift: it had two building missions and a destruction mission.

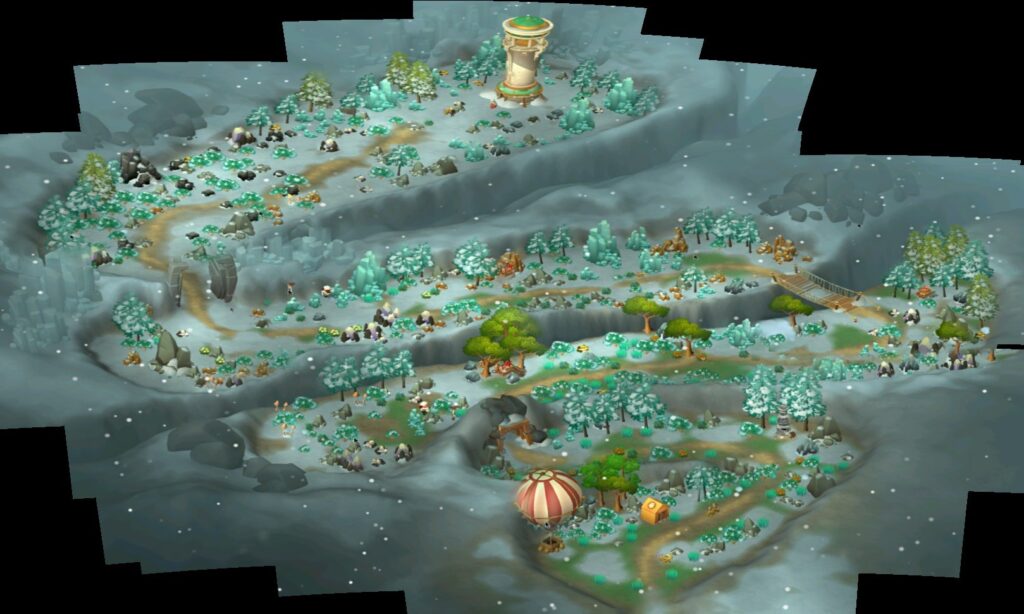
- The major goal of a Rifts’ “Season” is to reach 500 Rift Points which gives access to the Moonlit Sanctuary Treasure Stage. This is a small area with 27 items of free treasure and one precious Gold Key in the center island (see below).
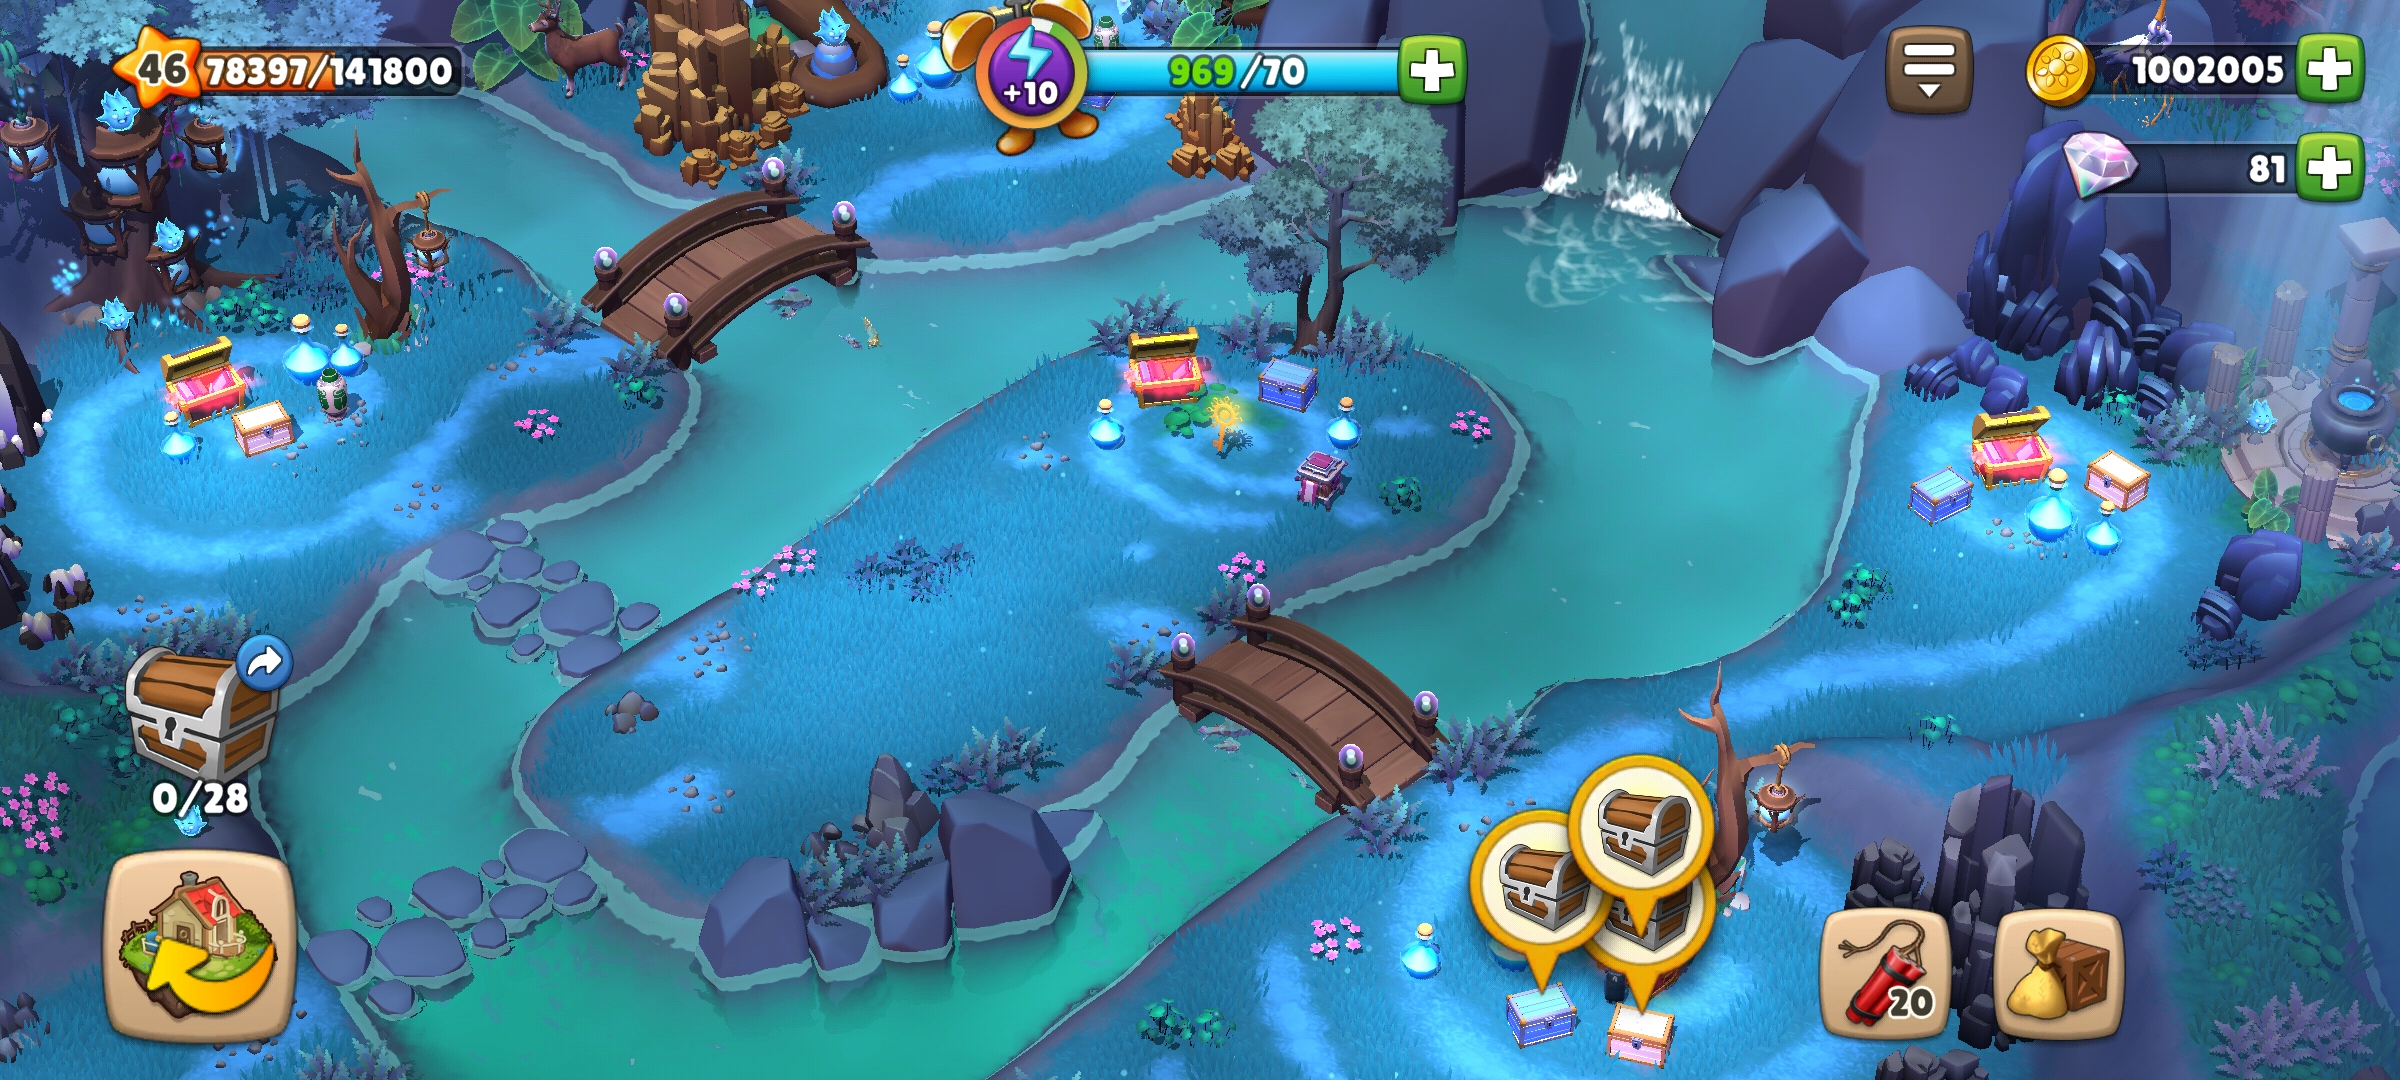
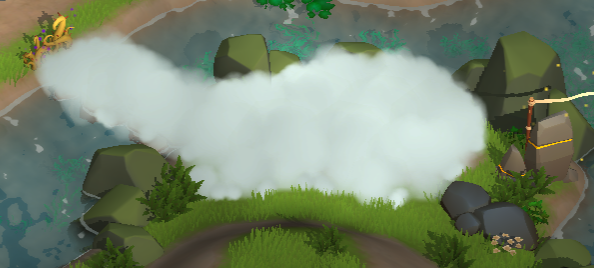
- Gold Keys are found in the Rifts (one per Rift lying on the ground in a random location that requires time and energy to find in the fog) and one in the Treasure Stage, and are used to open special chests in the Rifts areas. Most chests require one key while a few Mystery Chests, labeled with a green question mark and having much greater rewards, need two keys (see below). Suggest accumulating keys from multiple Treasure Stage completions and then use them for the best chest rewards for your current needs. Your patience will be well rewarded.

- Best strategy for reaching the Treasure Stage:
a. Enter a Rift immediately when a new Season begins.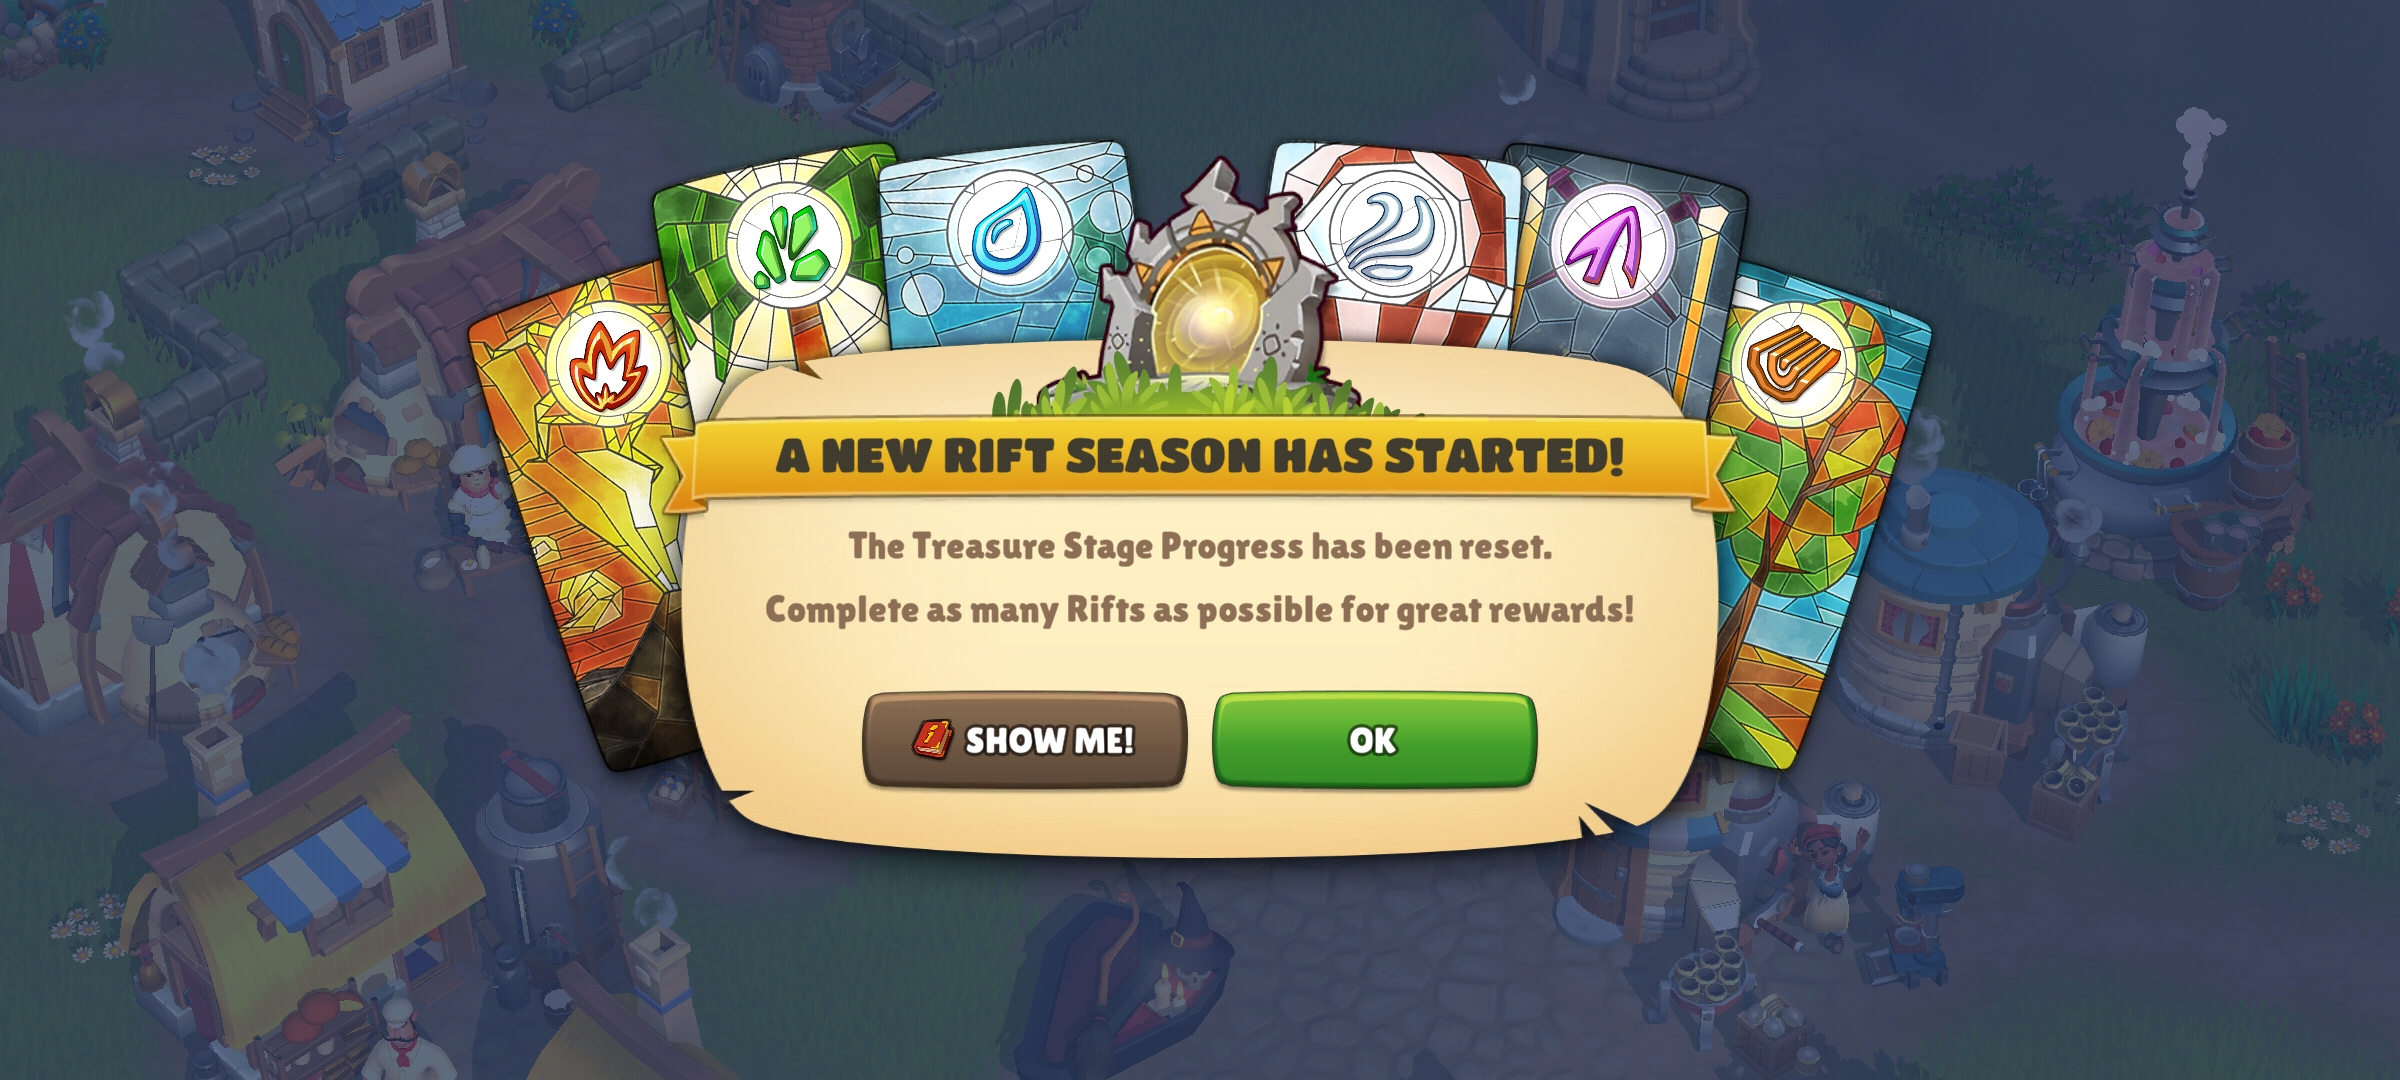
b. Choose the two characters that will give you the maximum Gold Energy points without having to spend diamonds for them.
c. Once in the Rift click on each of the three major quests to determine where they are on the map and devise a plan to reach them with the minimum travel requirements (which uses gold energy, of course). Suggest reaching the nearest first and then deciding between the other two.
d. Ignore any remaining sub-missions in the Rift – they burn a lot of energy and time with minimal rewards (only 10 Rift points each).
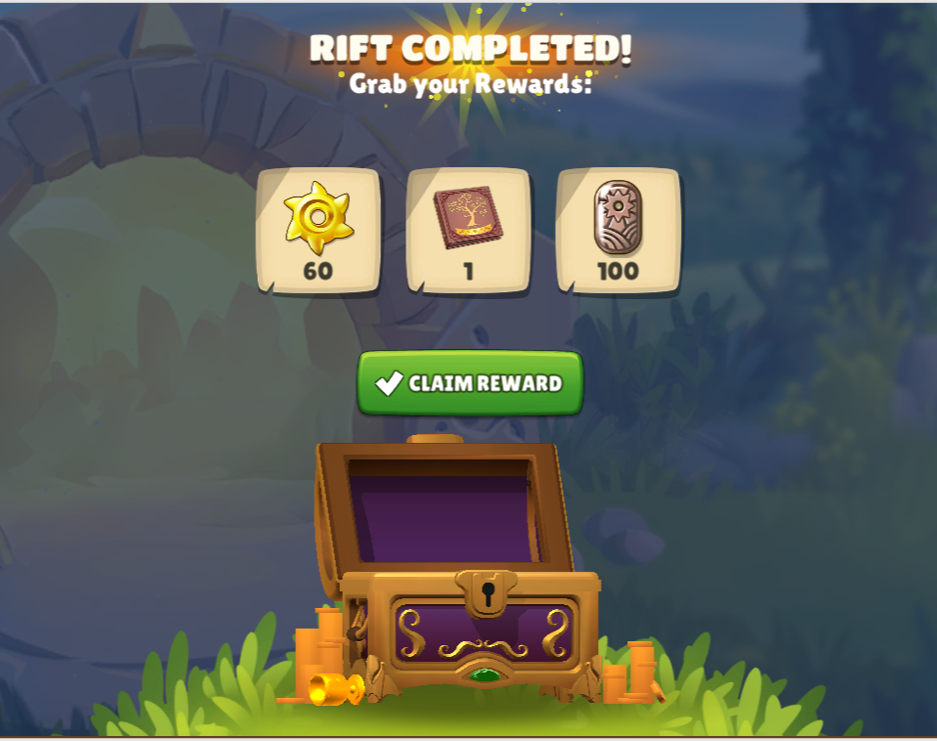
e. Complete the three major missions to get 60-80 energy and then choose to Complete the Rift. Back at the Village get another Orb (or use ones already in your inventory) and immediately open the Gate and start a new Rift.
f. Punch through multiple Rifts as rapidly as possible, again getting the base number of Points, until you reach 500, then choose the Treasure Stage and collect your multiple rewards and the Key.
Resource Management
Energy: Spend a few energy points occasionally to clear off land in your village for new buildings, and to move existing buildings in closer to each other. This makes it quicker to see what’s being produced and what’s waiting for pick up.
Gems: Hoard your gems. There will be times when a few gems make a significant difference in both time and effort to reach a specific goal. They are very effective during the Team Competition and other time-sensitive activities.
Crops: You never have enough so keep planting and harvesting. Especially important are wheat and grass since they are used so often in feeding your animals and making baked products. Plant slow-growing crops (strawberries, cotton, cucumbers, etc.) overnight to have them available in the mornings.
Animal Products: Milk is the number one animal product. Maximize your number of cows as early as possible and keep them happily fed. Build up a huge amount of milk since your dairy consumes it at an enormous rate. Eggs are important in the early game, but are used sparingly in the middle and late portions of the game, primarily in baked goods. Wool is often used in the middle game, usually by the boat or a few area tasks. Truffles are used rarely – once you have a few dozen collected you’re good.
General Tips and Suggestions
The broken walls in the Village, made of granite, have minor value (1 coin per piece) and have no function, so sell them. The broken brick walls (wall debris), however, are made of stones and can be “mined” for stone as needed.
When animals need a rest they’ll display a lightning bolt. Clicking it will give you some energy points. You can then pay to “reactivate” them.
When you gather the necessary materials for a quest in one of the “outer” areas the game will display a big yellow pointer on the map. Tapping on the Quest Log, then a quest in an outer area that requires materials will show you what’s still needed.
If you discover some “loot” (chest, barrel, box, urn, etc.) but can’t seem to select it due to obstructions (trees, rocks, etc.) that you don’t want to spend energy to remove then try moving your character as near to the loot arrow as possible. If you get close enough a pop-up will display that you can tap on to grab it.
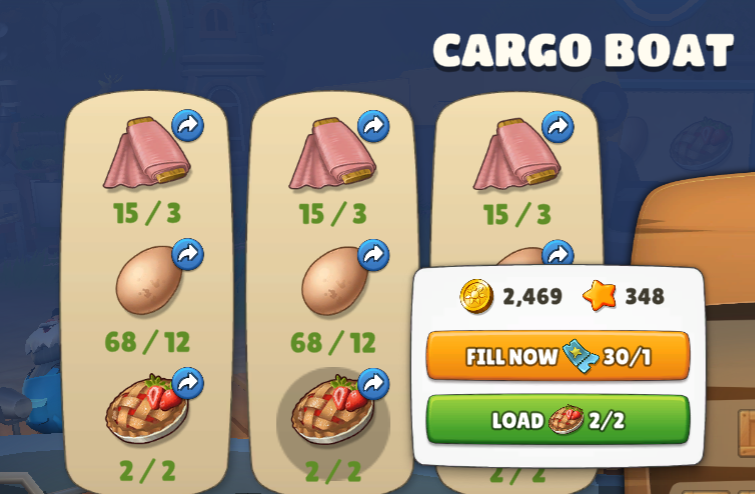
Cargo Boat at the Dock – You have 15 hours at the Dock to fill the three crates onboard with 3 items in each for a total of 9 items (see the first graphic below). If you have coupons (see second graphic) you can use them instead of the actual item(s). As shown, the player is short 4 strawberry pies (has 2, needs 6), so will need to either make 4 in the Bakery before time runs out or use two coupons (1 per crate).
- Click/tap on the boat to see the 9 crates to be filled
- Click/tap on one of the pictured resource icons of the needed items in one of the 3-high dialog boxes of one of the crates. Tip: avoid touching the little curved arrow at the top right corner of the icon – it will move your view over to the factory that produces the item (and then you have to scroll back to the boat).
- A new dialog box for that item with show up. It has two buttons – if you have the item in your inventory then click/tap on the green button to load that crate. If you have a blue boat coupon and wish to use it for that crate then click/tap on the yellow button to fill it.
- Continue to do this for all nine crates, producing items in your Village factories as needed to fulfill the requirements.
- Once you have filled all 9 crates you will see the right-most dialog box for the cargo boat showing that all three sets of crates are checkmarked green (total of 6 green checkmarks).
- Click/tap “Send Now” and then click/tap the large green “Claim” button at the bottom of the dialog box to get all of the rewards.
- A final dialog box appears that shows all of the rewards: click on the large “Claim Reward” to finally receive the items in your inventory.

Decorations – they have no monetary or actionable value, but they look good. You can purchase them at the Shop. Some decorations are already present on the map (example: Green Lamp Posts). They can be moved around like buildings, or you can move them into the Decorations list for later use (press and hold the item then select the “Box” option). Note: the Golden Deer Statue cannot be stored.
Dynamite – it’s most effective for quickly collecting large amounts of minerals (clay, iron ore, quartz, and stones). Note that it only works well on resources that are visible – it does not work well in foggy ground since you can’t see what you’d collect and much of the force could be wasted. Suggest periodically checking the Merchant wagon to see if it’s available for purchase.
Exploration Areas
Fully explore every area. Collect every item listed in the Challenges to get the bonuses. Don’t leave an area until you have stocked up as much as possible on scarce resources such as quartz, iron ore, and coal. Note: Clay is more common than the others so it’s not as large a concern.
Area characteristics:
- Woodlands – resource rich; very high in clay and coal, moderate in all others including woods; a good introduction to exploration and a major source of needed resources; stay here as long as possible before flying off in the balloon
- Mount Tshuka – relatively small area with narrow routes; low in some woods, coal, and iron ore; once you fix the stove it’ll generate water from ice that you will have cleared to reach various goals (but don’t go out of your way to collect ice – water made from grass is faster back in the Village)
- Tungrem Forest – lots of types of wood: you’ll have to cut down a lot to reach some goals; there are many in-area manufacturing goals so expect to spend some time waiting for them to complete; gather all of flax in the area – you can use it later in the game; gather all of the mushrooms and use the campfire to make soup (-> energy)
- Fortune Glade – large area but short on several resources such as softwood and quartz
- Ruins of Villaris – you’ll cut down lots of vegetation here and clear a lot of stone and ruins; check out the hint arrows constantly to find needed items such as fruits; area is very low on softwood
- Ancient Forge – moderate to high amounts of resources available; expect to need a lot of building products from the Village so stock up on planks, bricks, etc.; a note about the reforestation process: you’ll need to first find and cut down the dead trees in order to get pinecones from them to plant in the prepared holes
- Cornflower Meadow – a strange collection of in-area goals and manufacturing: patience is required as some goals seem initially trivial but turn out to take a lot of time and effort; moderate resources available
- Secret Library – the strangest area in the game since you’ll be “cutting down” books, bookcases, and furniture to travel; extremely low on resources except some woods; don’t progress to this area from Cornflower Meadow if you’re low on natural resources (collect them there first), especially during a Team Competition or any major activity requiring resource gathering
- Riverwood Camp – good resources available; first experience with the “Spinner” mini-game which requires random amounts of energy to complete
- Dorada Forest – moderate resources, relatively small area; you’ll need some glass jars so, if possible, make them up beforehand; a variation on the Spinner mini-game because this time it requires honey instead of energy; you’ll collect lots of stone at the end of the area in order to progress to the exit
- Rhox Hollow – an underground, dark area; collect special ore (in stones) as you travel; a fair amount of construction is required here
- Crimms Thicket – a bright, cheerful area with lots of mushrooms but moderate mineral resources; first encounter with the Twins who often give you tedious tasks; much construction on the workbench; finishes with an easy spinner mini-game
- Pandora’s Grove – a woody area; lots of exploring and collecting; several wisps tasks including making many mineral solutions to banish vines; collect the Wood Crystal at the end
- Willow’s Green – a woody area split by a river; many tasks associated with finding and returning lost sheep; two spinners using fish caught from a pond to pass by bears; two extensive repair quests using building materials
- Mystic Lake – the first jungle area combined with several wetlands which requires lots of twisty routes to accomplish quests; lots of repairs, mineral collecting, and mineral solutions to clear up the poisoned waters; several energy spinners to collect gemstones from turtle shells
- South Yuma – a desert island with sand and palm trees: high in wood and softwood but low in hardwood; a very long quest to find seashells; several repairs using building materials; requires lots of exploring and energy to collect magnetic ore to create magnets to power spinners to scare off sharks
- North Yuma – another desert island (sand, rocks, and palm trees) with a very long set of quests to repair crab traps: will need to find tons of flax to make ropes and many building materials; more magnite ore for shark repellant; several construction quests; moderate resources available
- Vails Gate – a wet and woody area containing most natural resources; more turtle gems and spinners; much exploration and two extensive repairs; collect the Water Crystal at the end
- Het’Kels Museum – interior area similar to the Secret Library, so limited resources unless you fully explore the edges for caches of materials; requires lots of glass and pipes, with several items repaired on the workbench; meet the Twins again and spinners using cheese
- Desert Town (Ta’Kardeh) – dry area with cacti, sand, and camels; lots of resources scattered around the town and outside; many areas blocked by large stones until a specific quest is completed; needs a huge number of repairs to damaged structures – example: the area requires a total of 58 bricks and many other building materials (beams, mortar, planks, etc.)
- Shay Desert – another dry area similar to Ta’Kardeh but with the twist of multiple mirages that require “repairs” to allow you to continue; moderate amount of resources and construction; requires many amber potions to destroy vines, and lots of water
- Secret Chambers – a small area requiring full exploration to find all of the needed items; moderate constructions and resources; possible non-fatal quest bug with the sand waterfall (as of June 2022); many snakes and spinners; obtain the Earth Crystal at the end
- Temple of Ard – large area requiring much exploration and construction, including using tools; moderate resources; some spinners and snakes; two possible non-fatal quest bugs (as of May 2022)
- Volcano Island – moderate-sized area with plenty of resources; lots of exploration and resource gathering – especially fly (volcanic) ash to rebuild houses, shrines, and a temple
- Magma Basin – small area with moderate resources but high in iron ore; lots of repairs and construction; several spinners requiring fire rather then energy
- Mycena Grotto – small area with lots of mushrooms and very colorful vegetation; moderate resources and repairs (does use modular walls and flooring); fire spinners, and lots of pig feed required
- Wisdom Growth – moderate-sized area with a good selection of resources; many repairs involving multiple tools and metal products; you help lots of animals along the way
- Crystal Cave – very large area with a good selection of resources; heavy construction requirements including buildings, railway rails, cables, electrical items, etc.; also has two puzzles, a spinner, and the Metal Crystal
- Summertide Forest – moderate-sized area with a moderate selection of resources; several puzzles which use energy and fire; some spinners
- Azmar’s Nest – relatively small area with moderate resources; requires lots of energy for exploration and the several puzzles; requires several building and food products from the Village
- Embers Garden – small area with moderate resources; requires moderate amount of energy and several glass jars; has multiple spinners
- Abandoned Mine – small area with moderate resources; lots of construction materials required; 1 spinner and 1 puzzle; and pay out 25000 gold